


A Wildlife Friendly Pond
A Wildlife Friendly Pond
4th September 2017

 Wanting to create your very own wildlife paradise?
Try this simple guide to create your very own pond in your garden. The pond will allow you to bring nature to your own doorstep. Expect to have frogs, newts and much more living in your pond.
You will need:
- Shovel
- Trowel
- Garden Hose
- Spirit Level
- Pond Liner
- Bricks
- Sand
- Pebbles for Base, Landscaping Rocks/Cobbles
Note: When using pebbles on the bottom of the pond make sure they are fish friendly. Scottish pebbles are ideal for this.
 Step 1: Plan your pond and get digging!
Step 2. Laying the liner.
 Lay your liner over the hole. It may take time to get it right, but placing bricks around the brim will help with the process and hold the liner down. Try to create it as neat as possible as creases in the liner may trap animals such as newts.
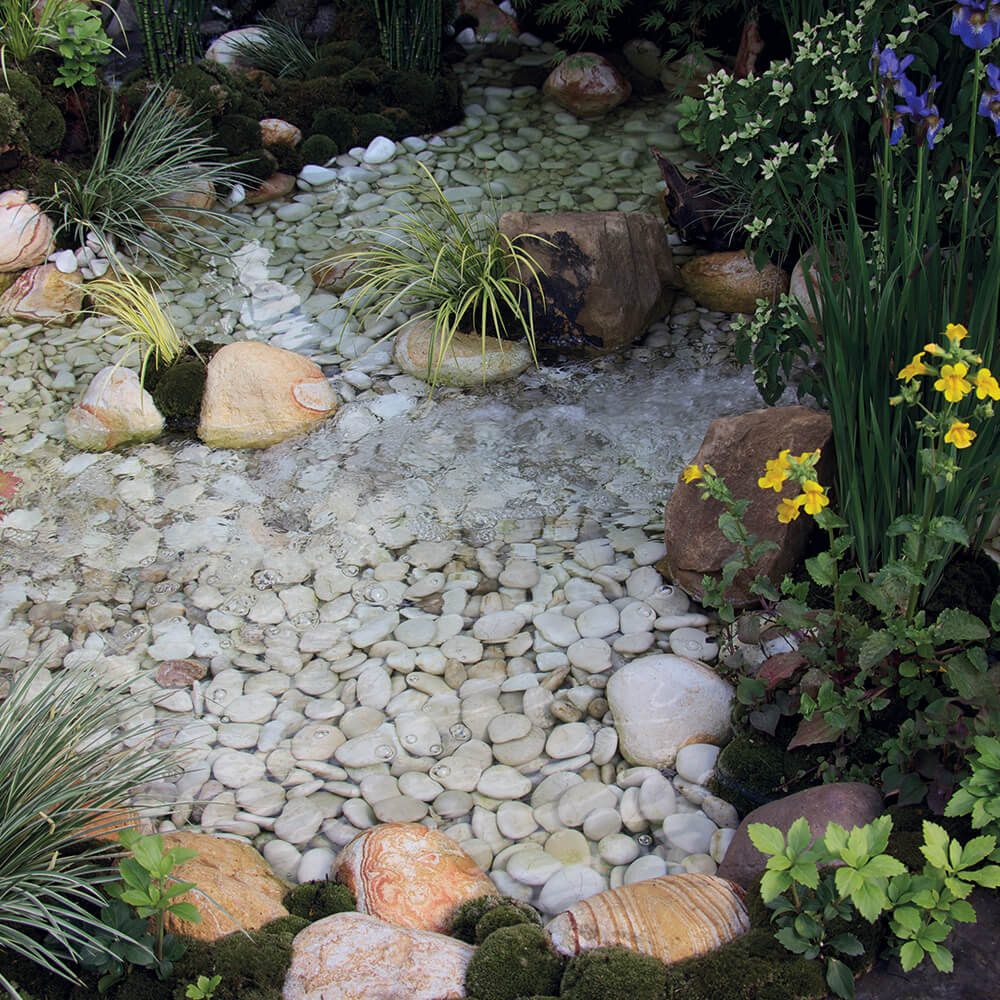
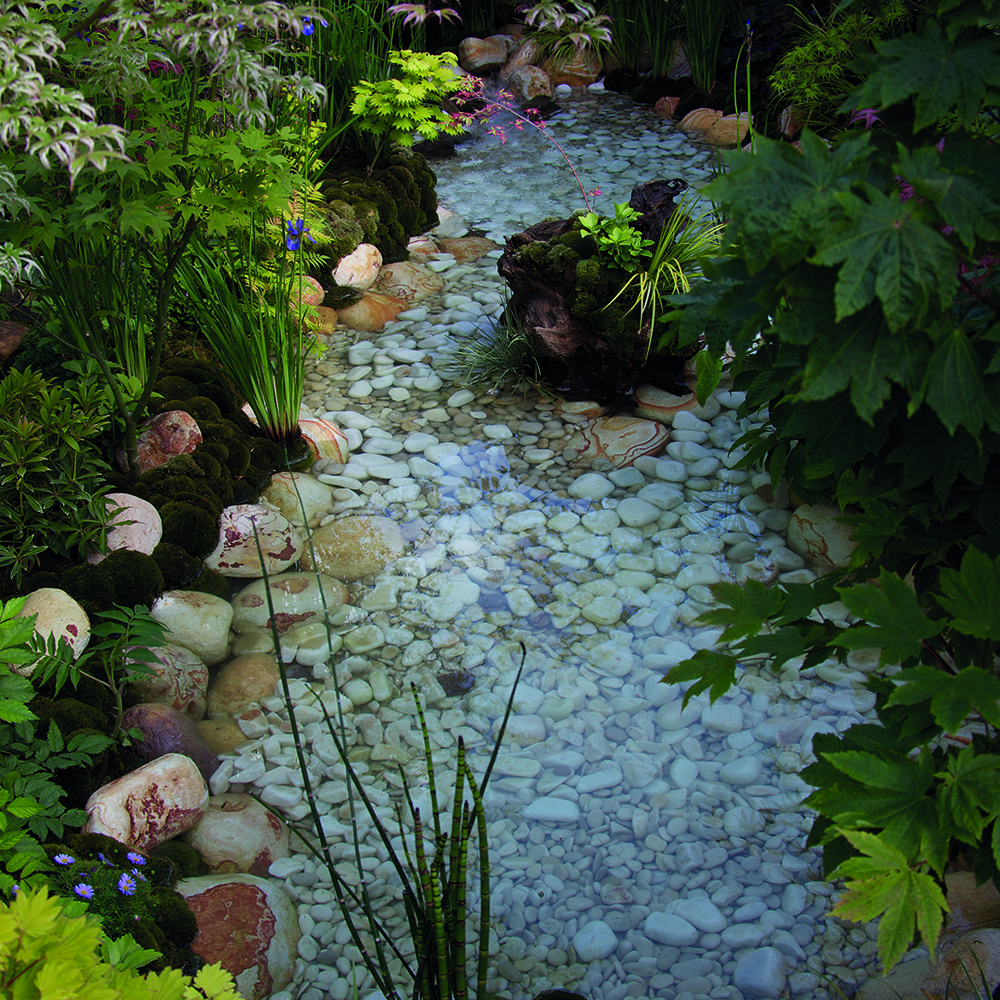
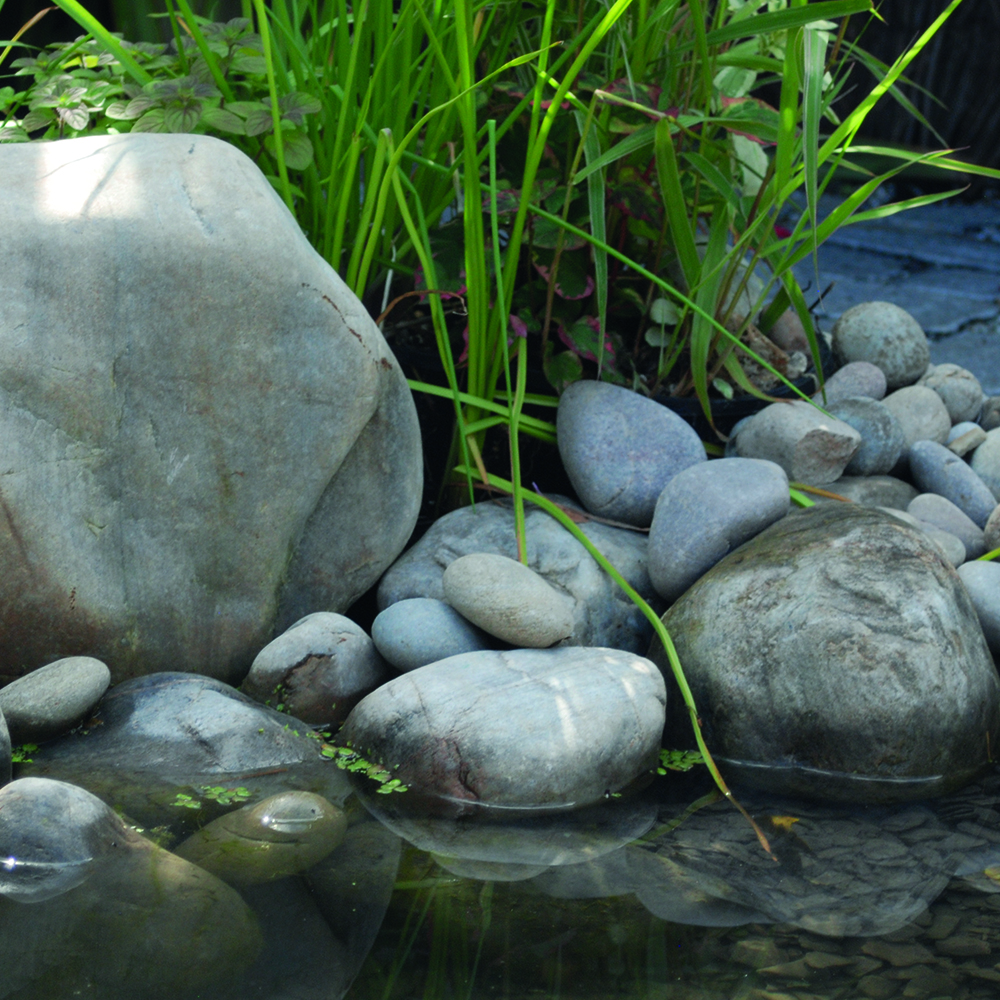
Step 3. Pebble Time.
It’s time to put the pebbles in. Place your chosen materials at the bottom of the pond. Using pebbles is a great way to invite newts and other Amphibians’ as they love to hide and crawl into cracks within the stones.
We would recommend using a rounded aggregate like Seashore or Highland Pebbles but you can also use chippings like Gold Coast or slate such as Green Slate 40mm. Look out for our fish friendly icons to see if your chosen product is suitable.
 Step 4. Adding Some Water.
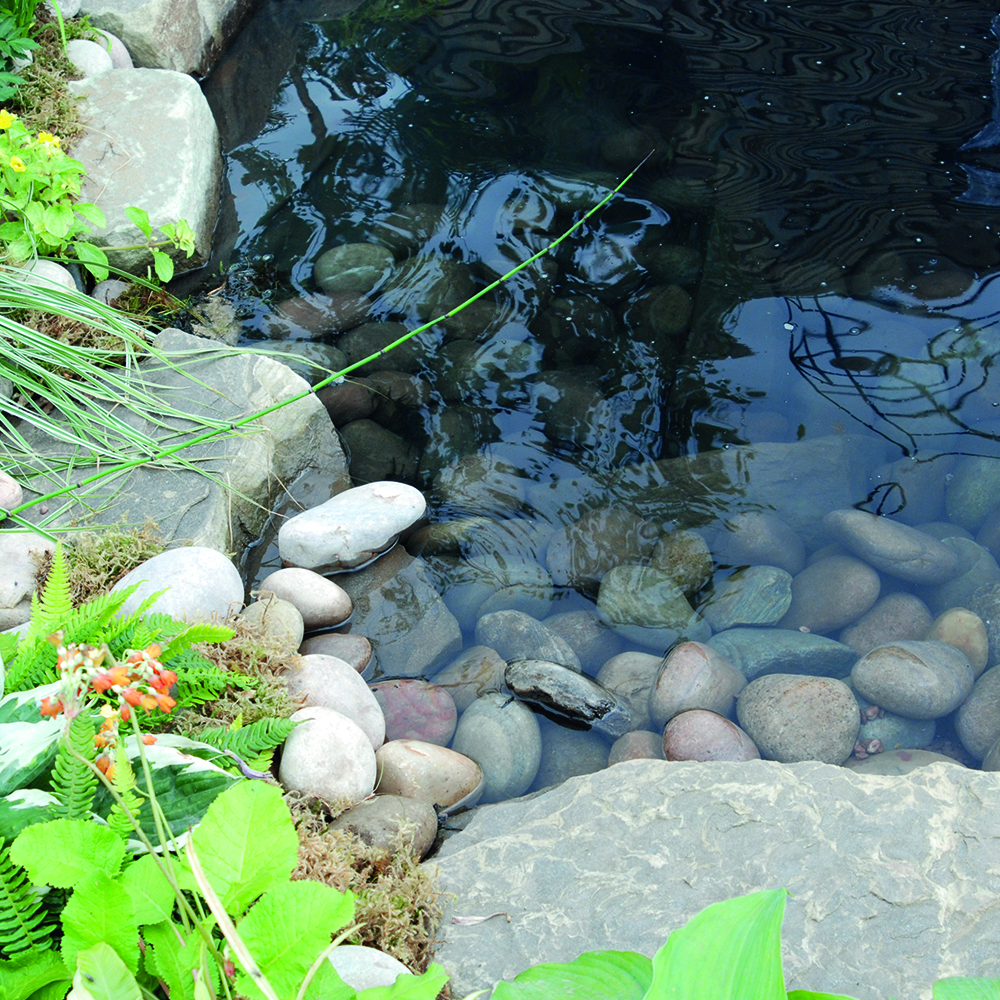
Step 5. Positioning the Rocks.
Step 6. Finishing Time.
Stay connected with Meadow View Stone


Your login details have been used by another user or machine. Login details can only be used once at any one time so you have therefore automatically been logged out. Please contact your sites administrator if you believe this other user or machine has unauthorised access.